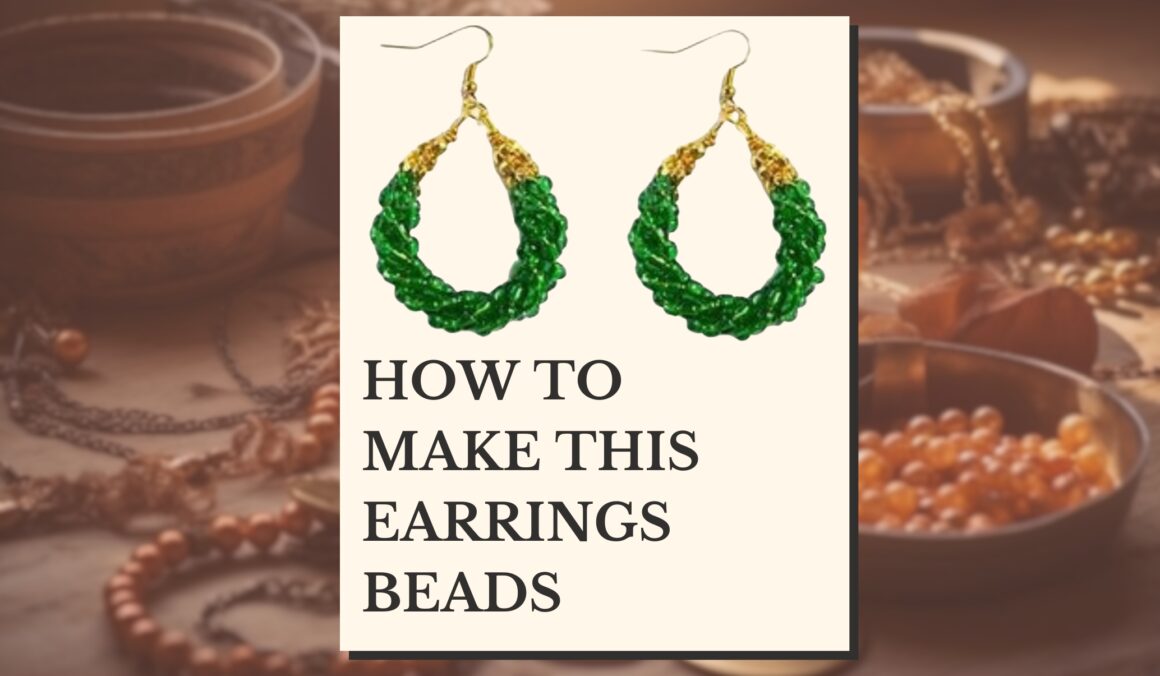
How to make earrings from beads
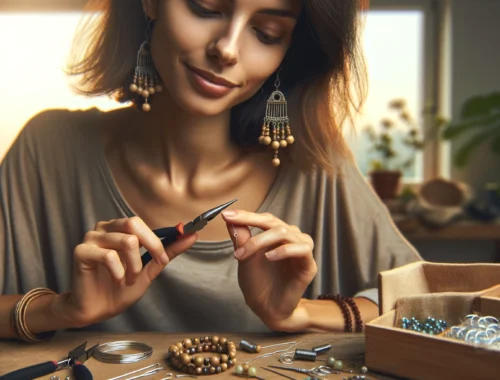
Hey there fashionistas! Have you ever wanted to learn how to make earrings that are just as stunning as the ones you see in stores? Well, you’re in the right place! In this article, we’ll guide you through a step-by-step process to create a gorgeous pair of handmade earrings that are perfect for any occasion. So, grab your bestie, a cup of tea, and let’s get started on this fun and fashionable DIY project together!

Materials you’ll need for these beautiful earrings:
- Jewelry pliers
- Wire 22 or 24 gauge
- Seed beads in two colors (green and gold)
- 2 jump rings
- Earring hooks
No products found.
No products found.
Step-by-step guide to create these lovely earrings:
Step 1. Prepare the wire.
Cut three strands of wire of the same length. The thickness and length of your earrings will depend on the number of wire strands and their length. For thicker or longer earrings, adjust the number and length of the strands accordingly.
Step 2. Add green seed beads.
Thread a number of green seed beads onto each wire strand. Make sure to leave some space at both ends of the strands for twisting the wire later and shaping your earrings. (pic 1)
Step 3. Add gold seed beads.
Next, thread a smaller number of gold seed beads onto both ends of each wire strand. Ensure there are equal amounts of gold beads on each end.
Step 4. Create the spiral shape.
Hold the wire strands at both ends using both hands. Gently twist the wires together to create a spiral shape. After that, form a “U” shape with the twisted wires, as shown in the reference photo. (pic 2)
Step 5. Make wire loops.
Twist the tips of the wire strands to create loops at each end. You can use round-nose jewelry pliers to help with this. Wrap any excess wire around the base of the loops you just made and trim off extra wire for a neat finish. (pic 3)
Step 6. Attach the earring hooks.
Finally, use the jewelry pliers to open one of the jump rings. Thread it through the wire loops you made, and then attach the earring hook. Close the jump ring securely. (pic 4)
And there you have it, my fabulous friends! You’ve just created a stunning pair of handmade earrings that are sure to turn heads and make you feel like the fashionable queen that you are. We hope you enjoyed this easy-to-follow tutorial and that it has inspired you to explore the world of handmade jewelry even further. Don’t forget to browse through our other articles for more amazing fashion tips, hacks, and DIY projects!
We would also love to see your creations and connect with you on social media! Make sure to tag us in your posts and follow our accoun on instagram: @look.so.cute for more exciting content, giveaways, and a chance to be featured on our page. Together, let’s keep the passion for fashion alive and create a supportive community of style-savvy BFFs!
Stay fabulous, and see you soon!


También te van a gustar...